Mastering Your Time: Setting the Default Calendar in Outlook
Related Articles: Mastering Your Time: Setting the Default Calendar in Outlook
Introduction
In this auspicious occasion, we are delighted to delve into the intriguing topic related to Mastering Your Time: Setting the Default Calendar in Outlook. Let’s weave interesting information and offer fresh perspectives to the readers.
Table of Content
- 1 Related Articles: Mastering Your Time: Setting the Default Calendar in Outlook
- 2 Introduction
- 3 Mastering Your Time: Setting the Default Calendar in Outlook
- 3.1 Understanding the Importance of a Default Calendar
- 3.2 Setting the Default Calendar in Outlook
- 3.3 The Benefits of Setting a Default Calendar
- 3.4 FAQs About Setting the Default Calendar
- 3.5 Tips for Effective Calendar Management
- 3.6 Conclusion
- 4 Closure
Mastering Your Time: Setting the Default Calendar in Outlook
In the digital age, where schedules are crammed with meetings, appointments, and deadlines, effective time management is paramount. Microsoft Outlook, with its robust calendar feature, offers a powerful tool for organizing your daily life. However, the full potential of Outlook’s calendar can only be realized when it is seamlessly integrated into your workflow. Setting a default calendar within Outlook empowers you to streamline your scheduling process and ensure that all your appointments are readily accessible.
Understanding the Importance of a Default Calendar
The default calendar serves as the central hub for all your scheduling needs. It is the calendar that automatically opens when you launch Outlook and the one that will be used for new appointments and meetings unless you explicitly choose a different one. By establishing a default calendar, you eliminate the need to manually select a calendar every time you create an event, saving time and reducing the risk of scheduling conflicts.
Setting the Default Calendar in Outlook
The process of setting the default calendar in Outlook is straightforward and can be accomplished in a few simple steps:
- Open Outlook: Launch the Outlook application on your computer.
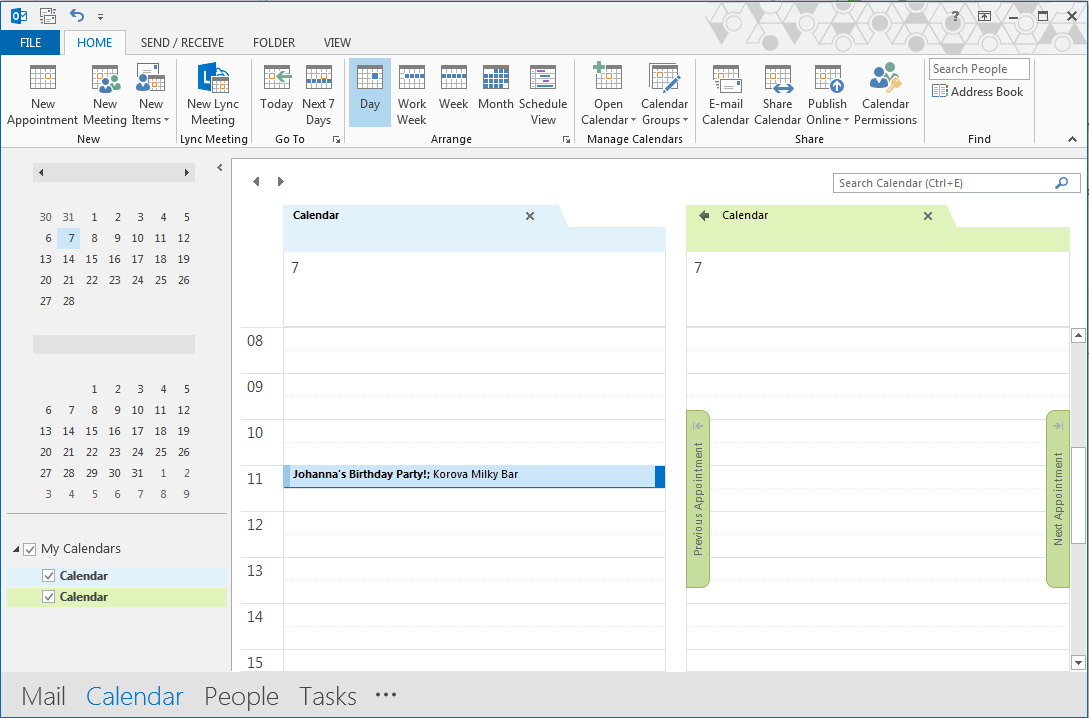
- Navigate to the Calendar View: Click on the "Calendar" icon in the navigation bar to access the calendar view.
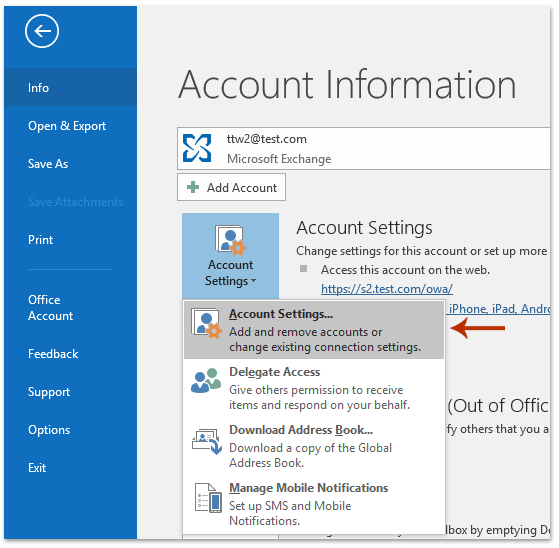
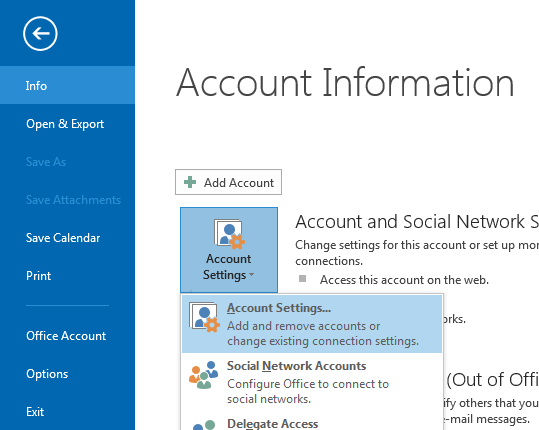
- Access Calendar Settings: Click on the "File" tab in the top-left corner of the Outlook window.
- Open Account Settings: Select "Account Settings" from the dropdown menu.
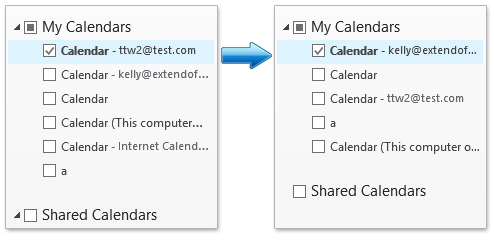
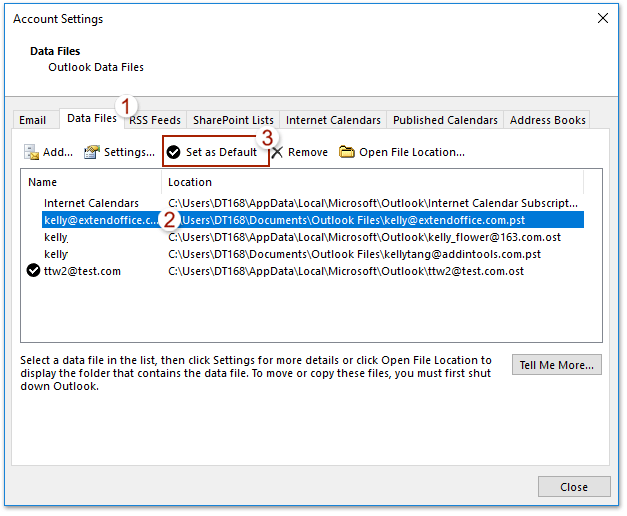
- Choose the Default Calendar: In the "Account Settings" window, navigate to the "Calendar" tab. Here, you will find a list of all your available calendars. Select the calendar you wish to designate as the default and click "Set as Default."
Once you have set the default calendar, it will automatically open whenever you access the calendar view in Outlook.
The Benefits of Setting a Default Calendar
Setting a default calendar in Outlook offers numerous advantages, streamlining your scheduling process and enhancing your time management capabilities:
- Simplified Scheduling: By establishing a default calendar, you eliminate the need to manually select a calendar every time you create a new event. This saves time and reduces the likelihood of errors.
- Centralized Calendar Access: Your default calendar acts as a central hub for all your scheduling needs. You can easily view and manage all your appointments and meetings from one location.
- Improved Collaboration: When working with colleagues or team members, setting a shared calendar as your default ensures that all relevant appointments are readily accessible.
- Enhanced Time Management: By keeping your schedule organized and readily accessible, a default calendar empowers you to effectively manage your time, prioritize tasks, and avoid scheduling conflicts.
FAQs About Setting the Default Calendar
Q: Can I have multiple default calendars?
A: No, you can only set one default calendar in Outlook. However, you can create multiple calendars and switch between them as needed.
Q: What happens to my existing appointments when I change the default calendar?
A: Changing the default calendar does not affect your existing appointments. They will remain in their respective calendars.
Q: Can I set a different default calendar for each Outlook profile?
A: Yes, you can set a different default calendar for each Outlook profile. This allows you to customize your scheduling preferences for different work or personal accounts.
Q: Can I create a default calendar for a specific account?
A: Yes, you can create a default calendar for a specific account by adding a new calendar for that account and then setting it as the default.
Tips for Effective Calendar Management
In addition to setting a default calendar, here are some tips for effective calendar management in Outlook:
- Categorize Appointments: Use categories to color-code your appointments, making it easier to differentiate between work, personal, and other types of events.
- Set Reminders: Set reminders for important appointments and meetings to ensure that you don’t miss them.
- Use Calendar Views: Experiment with different calendar views, such as day, week, and month, to find the view that best suits your needs.
- Share Calendars: Share your calendar with colleagues or family members to keep everyone informed of your schedule.
- Use Calendar Features: Take advantage of Outlook’s advanced calendar features, such as recurring events, meeting requests, and scheduling assistants.
Conclusion
Setting a default calendar in Outlook is a simple yet powerful step towards effective time management. By establishing a central hub for your scheduling needs, you can streamline your workflow, improve collaboration, and enhance your overall productivity. By embracing the benefits of a default calendar and utilizing the various features offered by Outlook, you can gain greater control over your time and ensure that you never miss an important appointment.

Closure
Thus, we hope this article has provided valuable insights into Mastering Your Time: Setting the Default Calendar in Outlook. We thank you for taking the time to read this article. See you in our next article!